

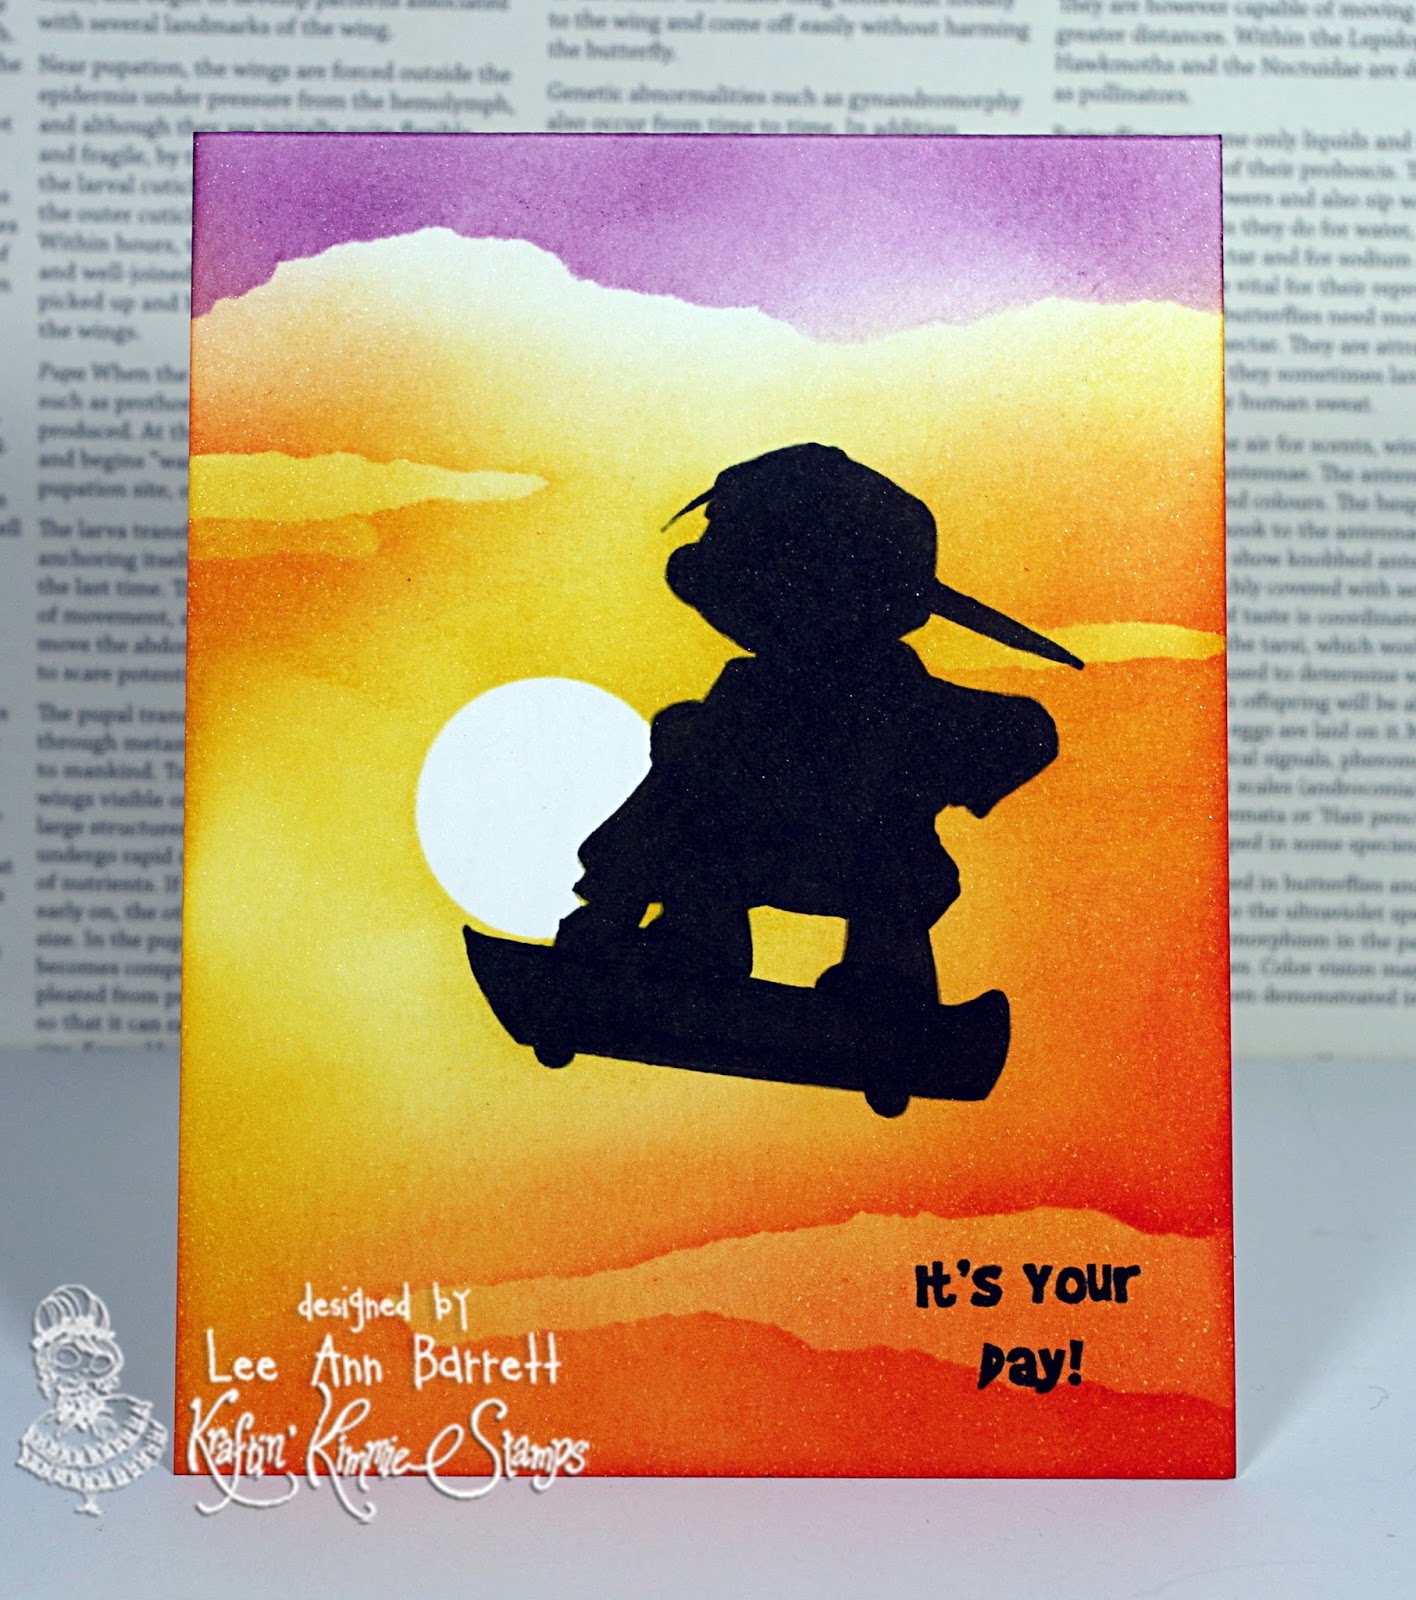
Krafty Girl Lee Ann here, ready to show you how to sponge a sunset sky, turn a Kraftin' Kimmie image into a silhouette image AND end up with a single layer card when you are done!
Let's get started!
I used the fabulous guy set, Let's Roll, Dude for this card.
- Start with a 11 x 4.25” card base; score your fold line
2. Using my MISTI, I stamped my image; You will want to stamp in a color lighter than black; I used London Fog Memento ink. Do NOT
remove the stamp or the card base from the MISTI yet.

4. Cut/punch a circle, approximately 1 “ in
diameter to create an adhesive mask (I used Inkadinkadoo's Stamping
Mask Paper). Adhere the circle where you want the sun to be.
5. Restamp your image so that it stamps onto the
mask.

6. Now you can remove the card from the MISTI
and the circular mask from the card. Fussy cut around the image on
the mask. Reapply the fussy cut portion of the circle (sun) back onto
the card.

7. Using a Copic marker (I used a W9 but black
would be the best option-believe it or not, I do not have a black
Copic!), outline the entire edge of the stamped image.

8. Once outlined, fill in your image completely
with the Copic.

Can you do this without a MISTI? Absolutely! You would stamp your image in the light color, then outline the image with the Copic and fill it in. Once your image is filled in, you can add your circle mask and then you are ready to go. You may be wondering why I go through the trouble to do it the way I do it- it is because after all of the sponging you do, when you remove the mask, if you hold the card just the right way, you can tell that a portion of the black image did not get sponged. See, I am really, really, picky!
9. You are ready to start sponging in your
sky. Sponge a light coat of yellow (Daffodil Delight) ink from the
bottom of the card to about the top of the head.

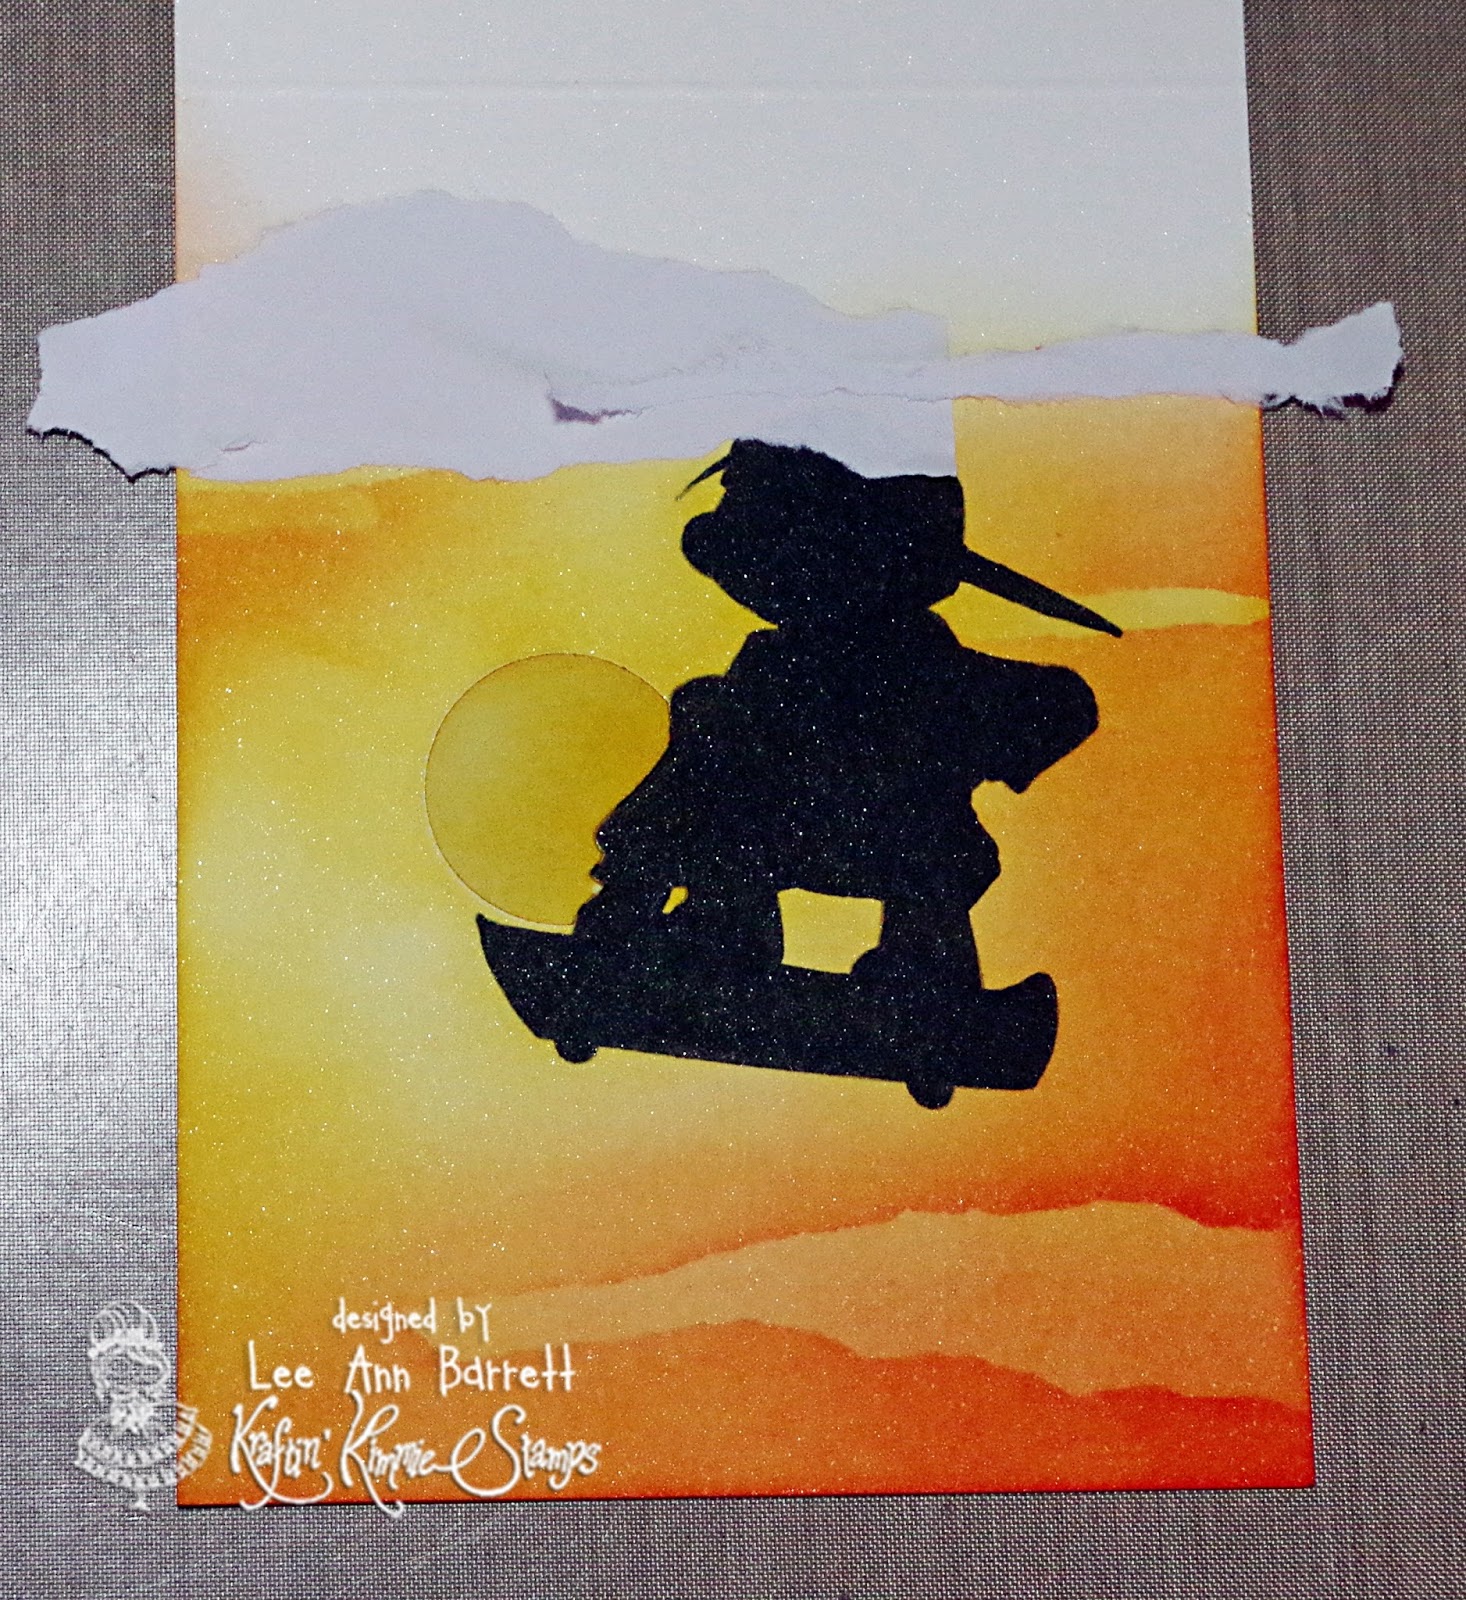
10. It is time to start adding some clouds to
your sky. Using my Inkadinkadoo Stamping Mask Paper, I tore several
strips, varying in width and length.

11. Add a short cloud to the left upper section
of sky, allowing the cloud to hang off the edge of the card and add a
longer cloud to the right lower corner of the card, also allowing the
cloud to hang off the edge.


12. Sponge more yellow ink to your sky.
13. Add more cloud masks, one overlapping the underneath side of the left upper corner cloud and one over the brim of the boy's hat.

14. Add more yellow sponging to the sky.
15. Next, add some orange (Tangerine Tango)
sponging to the sky.
16. Remove the lower right corner cloud and the
lower of the two upper left corner clouds.

17. Sponge on more orange ink. Then intensify the yellow with a deeper yellow ink (Crushed Curry).

18. Add a mask(s) near the top of the card.
19. Sponge some Blackberry Bliss ink from very top of card to mask.

20. Remove your sun mask and add your sentiment!

You may also be wondering why in several pictures it looks like the image is full of white specks. I stamped my image on Cryogen White Metallic cardstock and when the light hit it, the sparkle in the cs would shine. The image is truly a solid black.
I know I have inundated you with photos, but I wanted to be sure you understood what I was trying to get across. I know how much a appreciate pictures when reading a tutorial!
So there you have it! Getting back to basics by sponging in a background and turning your line image into a silhouette stamp gives you an easy peasy guy card!
I hope you give this technique a try; let your creativity loose!
Thanks for stopping by and have a Krafty day!
Lee Ann :)
Great card! I love your tutorial and can't wait to try out this technique! Thanks for sharing!!
ReplyDeleteWhat an awesome tutorial...thanks so much <3 Very inspiring...can't wait to give it a try.
ReplyDeleteFabulous card and awesome tutorial, Lee Ann!
ReplyDeleteFantastic card. It made me fly along with the boy! Thanks for sharing such detailed tutorial, Lee Ann. Cheers!
ReplyDelete