


Welcome to another week of Krafty Tips and Tutes here at Kraftin' Kimmie Stamps! Each week one of our fabulous Krafty Girls share a little post with some sort of tip or tutorial for you and we hope you find them inspirational!
Today, it is my turn to share a little Krafty Tip/tutorial for Kraftin' Kimmie Stamps, and given how much I know you card makers love to use sketches, I thought I would share a little tip for using sketches in different ways.
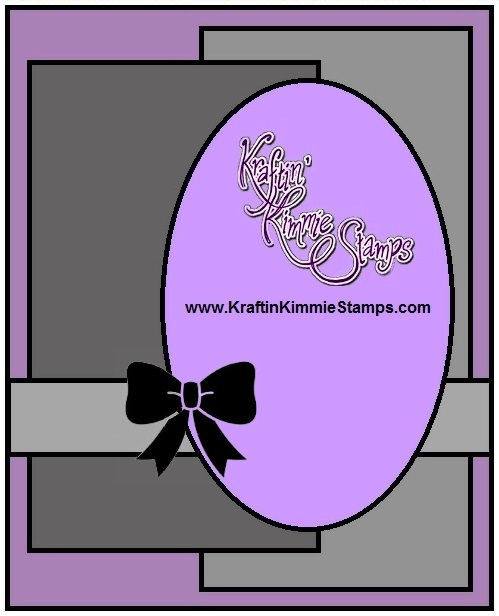
Recently, Kraftin' Kimmie used this sketch for one of our September challenges, and I thought it was really simple, but packed with possible variations. One of the thing I love about sketches is that they can make the card making process really quick! And the great news is that with a bit of "fidgeting", you can make a whole collection of cards that look totally different using the same sketch.
 This was the first version I cam e up with, using one of my favourite stamps from the "Happy Haunting" set and some paper from Doodlebug. For this version, I followed the sketch layout pretty closely, just changing the position of the bow and the shape of oval to accommodate the image I chose. I think it's a super cute version!
 But then I though I would have some fun and see what would happen if I turned the image 90 degrees to the right. I actually tend to work in landscape a lot because I like the way that the card stands, so turning the image really worked! All the pieces are exactly the same as they are in the first version - same size, same placement. The only thing that changed was the direction of the image. I love that this version shows off a bit more of the paper too!
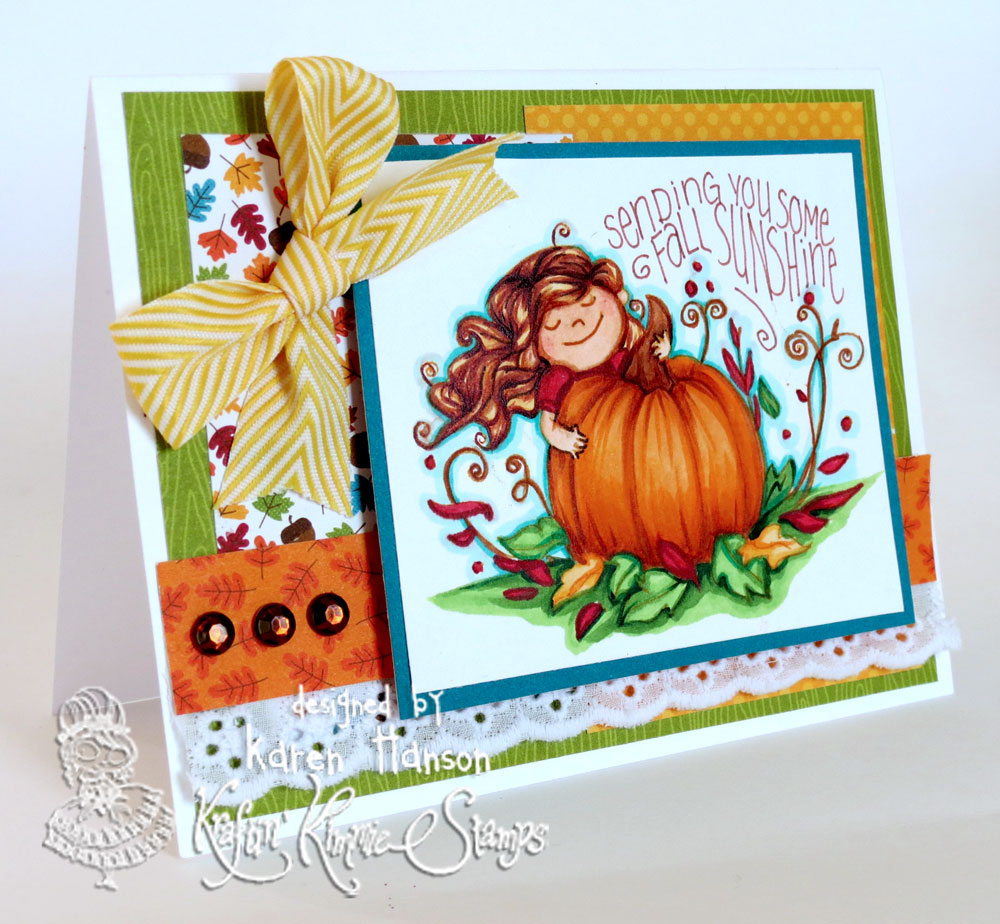
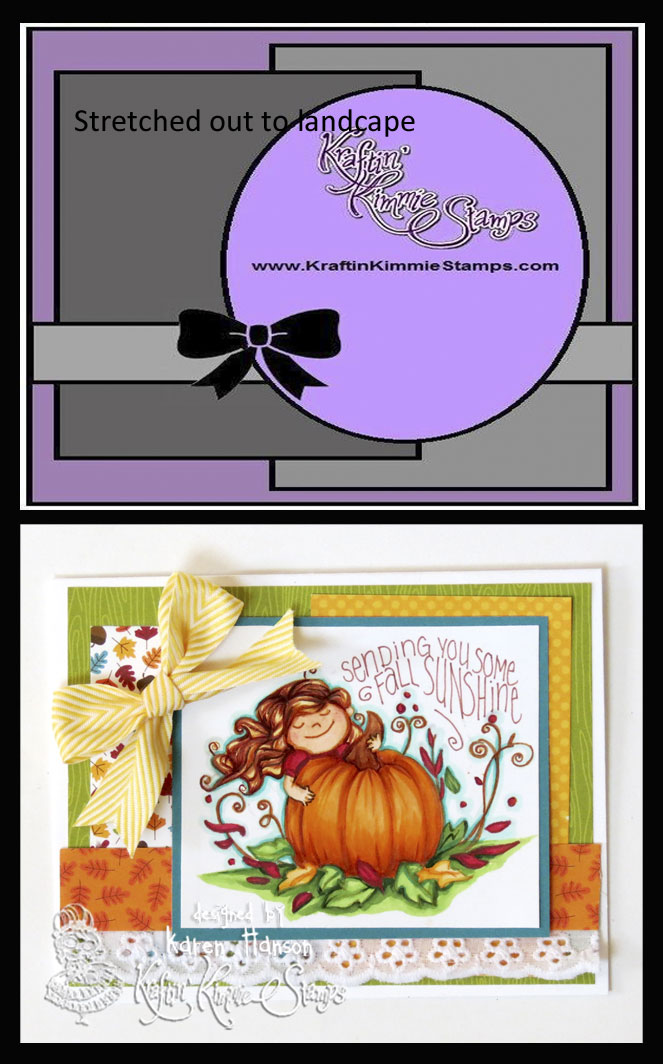 The last version is simply a stretched out version of the original sketch. Since I still wanted to try another landscape version, I simply took the sketch and extended it out on the sides and pinched it a bit top and bottom. Again, all the pieces are in the same places, but now the dimensions of them are a bit different (wider than longer). I really love the balance of shapes and sizes in this one, and it was the one that made the final cut!
 So there you have it - one sketch 3 different ways with minimal changes! Image using this technique to crank out your Christmas cards this year - each one would be totally unique, but you would have them done in no time flat!
I hope this little tip has inspired you to get krafty! Thanks for stopping by!
So there you have it - one sketch 3 different ways with minimal changes! Image using this technique to crank out your Christmas cards this year - each one would be totally unique, but you would have them done in no time flat!
I hope this little tip has inspired you to get krafty! Thanks for stopping by!
No comments:
Post a Comment