

TIPS -and- TUTS
CARD with PUNCHED EDGES
Hello! This is Krafty Girl Becky from Cards by Becky with a
tutorial on how to make a card base with punched edges.
There are a variety of great ways to do this and this is one way!
SUPPLIES:
Martha Stewart Around The Page Punch (or other Punch)
(3) 8.5 x 11" Pieces of Paper
(3) 8.5 x 11" Pieces of Paper
Basic Supplies: Ruler, Scissors, Glue, Etc.

Okay!
Let's get started!
Step 1: For the card base, cut (1) piece 5.5 x 11" inches and fold in center.


Step 2: For the punched section, cut (2) pieces 6.75" x 6.75" inches square.

Step 3: On each of the 6.75" inch square pieces, punch the edges.
TIP! It's best to punch the corners first and then the center area.

Step 4: Then, you should have (2) pieces of paper that are 6.75" inches square
with punched edges. These will be glued to the base of the card on the top and bottom.
with punched edges. These will be glued to the base of the card on the top and bottom.

Step 5: Glue one of the 6.75" punched pieces of paper onto the front of the card base.
TIP! Add extra depth by using distress ink on the punched edges.


Step 6: Glue the other 6.75" punched piece of paper onto the back of the card base.
When gluing on the back piece, try to line it up with the front piece's punched edges.

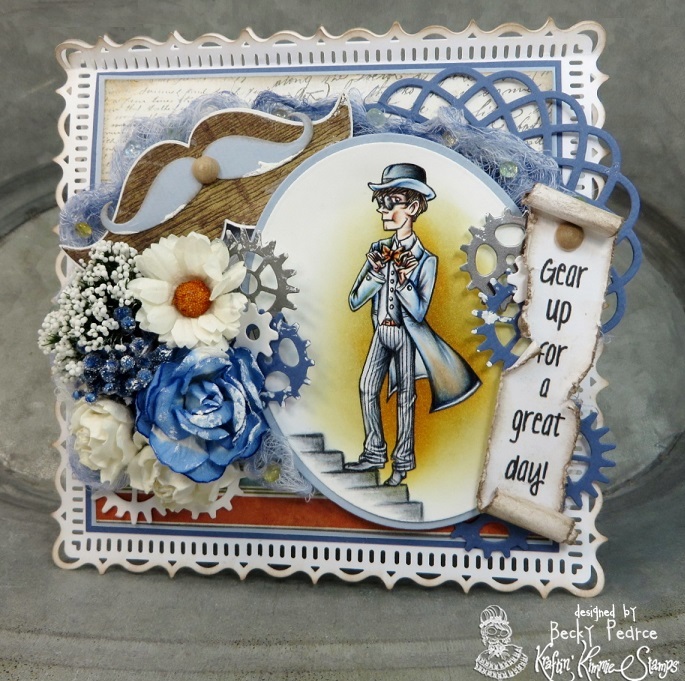
Done! Here is the finished card base with punched edges
and a close up picture so you can view the detail.


Thank you for following along and have a great day!
Below is my finished card...featuring the
brand new, just released this month Kraftin' Kimmie Stamps set
by artist Cheryl Grant called SWEET BIRTHDAY KIDS.
Get It Today! Available Now!
%2B6.jpg)
.JPG)
On the card inside, I used the Kraftin' Kimmie Stamps sentiment stamp set
by artist Becky Pearce (that's me) called MAKE A WISH.
Perfect for Special Occasions! Available Now!

.JPG)
Available At: www.KraftinKimmeStamps.com


____________________________________________________________________________
Here are some additional examples I made with punched edge card bases!
.JPG)

.JPG)
____________________________________________________________________________
Check the Kraftin' Kimmie Stamps Blog for upcoming Tips & Tuts!


Ohh it´s really nice this step by step. Thanks a lot for sharing.Regards.
ReplyDeleteAwesome! Thank you for the great tutorial. I never thought to use separate pieces of paper for the punches. I will give that a try!
ReplyDeleteGreat idea. I have never thought to try this...a lot easier than I thought. I think I make everything harder than it needs to be.
ReplyDeleteJust awesome!!
ReplyDeleteThank you so much for sharing.
Beautiful job, Becky!!!
ReplyDelete