

Krafty Girl, Lee Ann here, back with a tutorial, creating a watercolor look around an embossed sentiment.

Are you loving the amazing new sentiment set, Spook-tacular Sentiments? The sentiment
stamps are perfect for the technique I am going to show you today. This would work
beautifully with the Summer Sentiments as well, or any other of Becky's sets.
1. To start, stamp your sentiment with Versamark ink and emboss with clear embossing powder. I used mixed media paper; you can use watercolor paper as well. I like using mixed media paper as it
gives me a more spotted look.

To add color, you will be applying ink to a kraft mat and spritzing it with water.
2. I selected these colors to work with. You do not have to use Distress Inks but they do work nicely as they react with water even after drying.

3. Once you have chosen your colors (it can be one, two, three, or four as above, or it can be monochromatic using multiple colors in the same family), you are going to smudge some ink
onto a craft mat. I started with just 2 colors, the Scattered Straw and orange inks. If you are using
more than one ink at a time, start with the lighter of the to inks to prevent contaminating it with
the other color(s).

4. Using a spray bottle or mister, spritz the ink until you get tiny water droplets, as I tried to show you below.

5. Now the fun begins. Put your embossed panel into the ink, embossed side down. You can
just set it into the ink and press, you can drag it through the ink, you can smoosh it around a bit.
This is what mine looked like while still wet after the initial dip into ink.

6. This is what it looked like after being dried with a heat gun.

7. Wipe your mat off and add more ink. Spritz with water. I used Scattered Straw and orange
again.

8. Here it is dry.

9. Aside from achieving a look you like, the goal is to add enough color around the sentiment
to make it stand out. Here I started adding a darker color, the Ripe Persimmon.

10. My darkest color, the purple, was the last color I added.


11. After a couple of layers of purple, I went on to another techique, the Iron Off Embossing
technique.

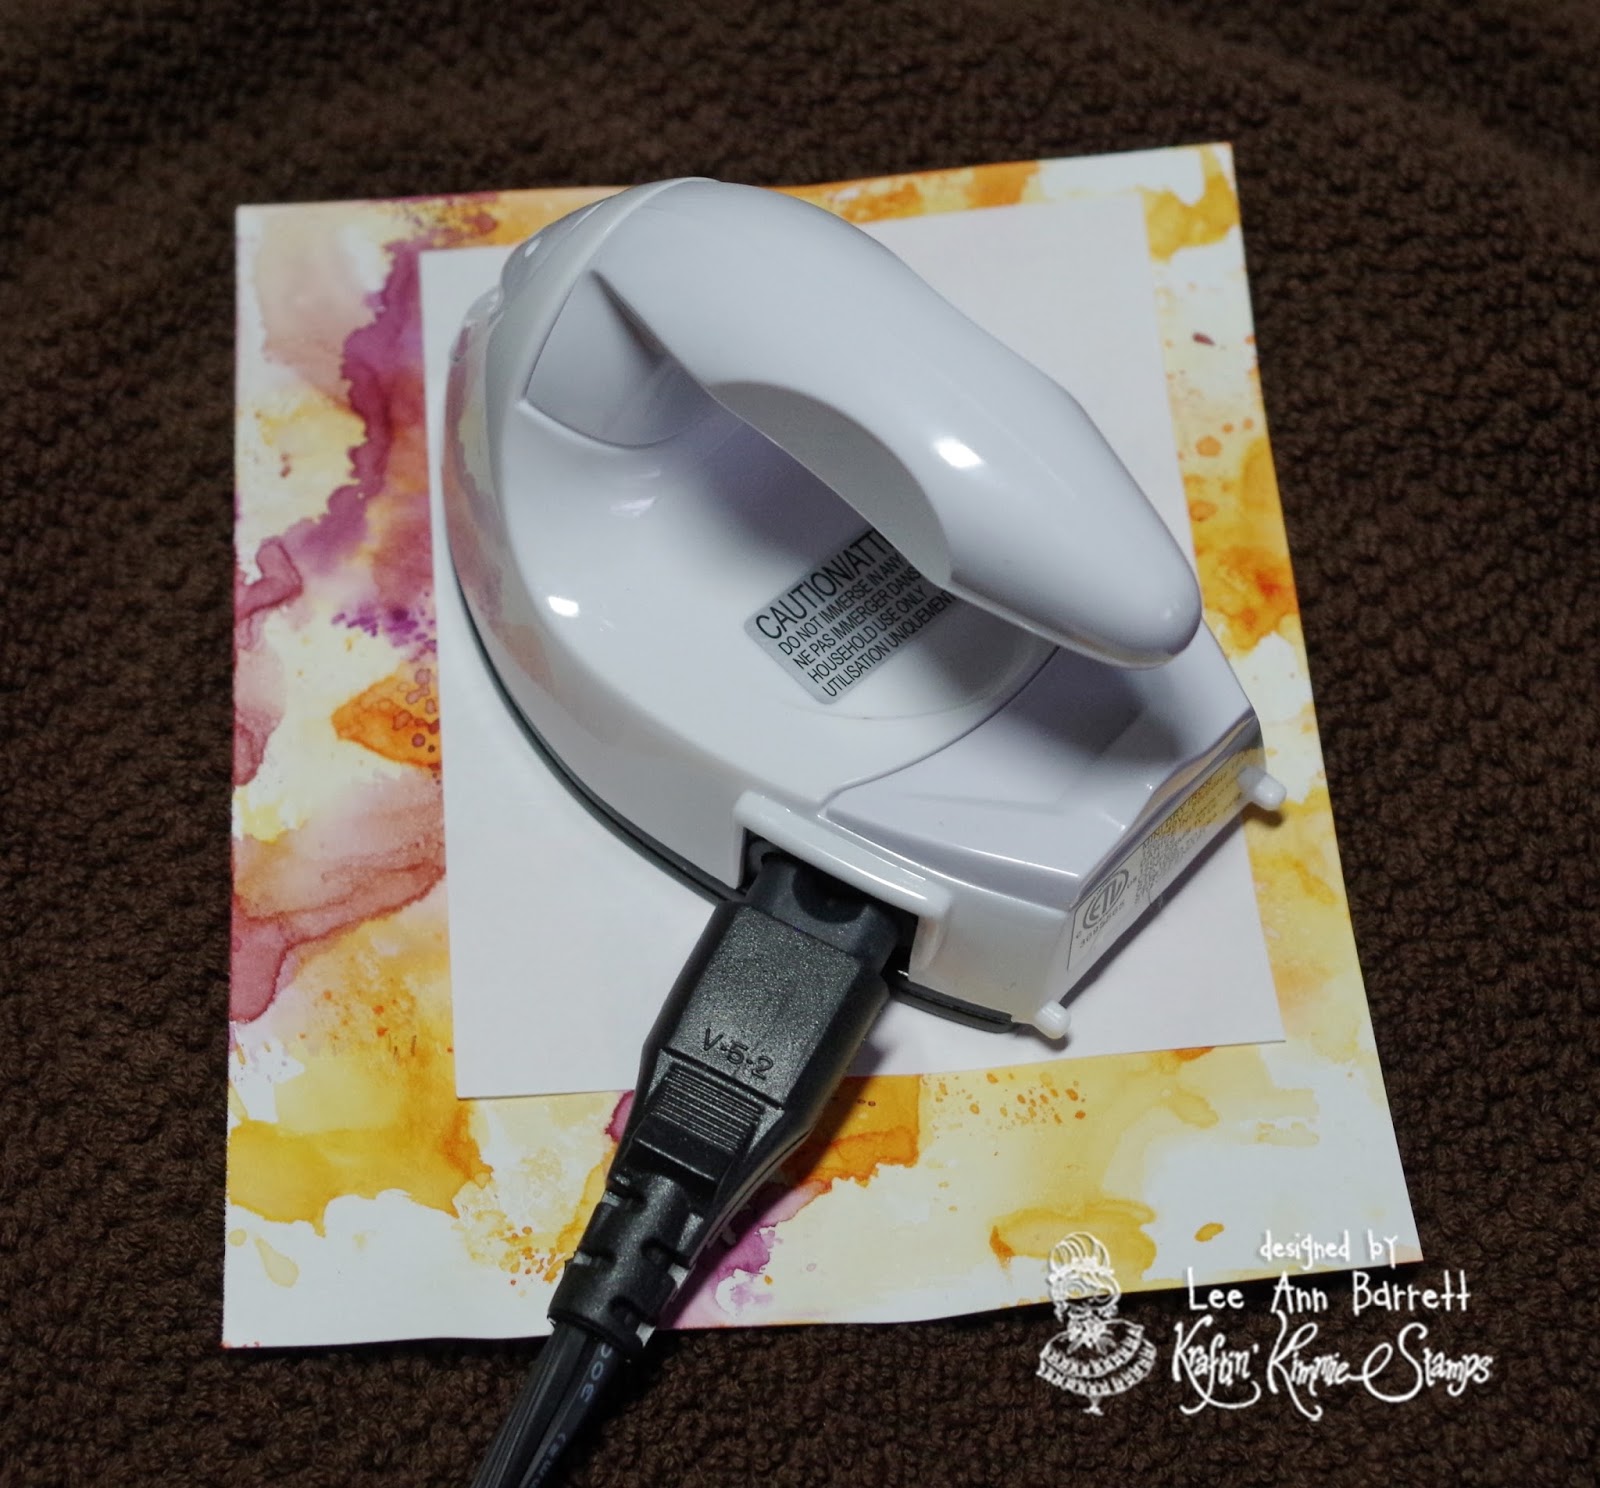
Place your dry panel on a towel. Heat up your craft iron.
12. Using plain white paper ( I used printer paper), place it over the embossed area.
Iron over the paper to heat up the embossing powder. The embossing powder with start to
stick to the white paper. This is what it will look like as you remove the embossing.

You will have to do this several times to remove all of the embossing. You are left with a perfectly white sentiment!

To finish, I added hand drawn doodle lines and matted it with designer paper.
This is a great technique to make the sentiment shine. Here is a monochromatic take on this
technique, using the Summer Sentiments Set~

And another one using the Spook-tacular Sentiments~

No two are alike and there is no wrong! I hope you give this fun technique a try!
Lee Ann :)
***WIN!!!!***What a fabulous tutorial by Lee Ann! I'm totally going to give that a try!! Kimmie here and I was wondering.....who would like to WIN a new set of the
All you have to do is leave a comment on THIS blog post, tell me how YOU would use this fabulous sentiment set and I'll choose a winner next Sunday!!! Good luck
I absolutely love the fun and imagination involved in making Halloween cards!! These sentiments would be just fantastic for that. Great for all ages!!
ReplyDeleteI'd like to give this a try.
ReplyDeleteGreat technique! Especially about the iron part - I had NOOO idea it worked like that. Thanks!
ReplyDeleteI make whiteboards out of ceramic tiles and use stamps for images or to make the tile themed. I'd love to make some Halloween ones!
I really like this tutorial because it gives me yet another technique to try and I love the watercolor look. I never thought of using a sentiment as the main image on my cards but this is very unique, that's exactly how I would use these new stamps! Thank you for sharing this very clever idea.
ReplyDeleteWOW ! Great tutorial. I will have to give it a try. I'm sure I could find many different things I could create with the Spook-Tacular sentiments. Gift bags comes to mind. And of course some cards too. I'm sure they would also make great sentiments inside cards made with the Halloween card kit. :)
ReplyDeleteWhat a fun background tutorial :)
ReplyDeleteAs for the stamps, I would love to use them on treat boxes instead of images for a change :)
I have tried a resist technique before but nothing like this. I am definitely going to try this. Great tutorial.
ReplyDeletegreat tutorial for someone who is a old person and newcomer to card making. i understood it! would love to win this set and step outside my usual tries at cards. i might have to buy some embossing powder...i am new at this and haven't tried embossing yet either.
ReplyDeleteLove your project and happy to have a new technique to try. Thanks for the step by step instructions. Hugs!!
ReplyDeleteI have tried the resist technique before, but never like this. I will definitely try this. Great tutorial!
ReplyDeleteI love this technique and am going to try it tomorrow! I think it would be fun to send Halloween cards with just the sentiment on for fun! I also would use the sentiments on Halloween themed scrapbooking pages :)
ReplyDeleteWow this is so beautiful ! I love this effect and those cards. I would use these new stamps trying this tutorial in the hope to get such beautiful cards. The autum one is just gorgeous ! Thanks for sharing a new technic, i'll definitively try it.
ReplyDeleteI hadn't seen this "iron-off" technique before but I love it. I have some cards where the sentiments don't pop as well as I'd like because of ink that was left in them. I'll definitely try this in the future with any card that has a white sentiment.
ReplyDeleteWhat a great technique. I would use these stamps on treat bags.
ReplyDeleteI wanted to try watercolor for my Halloween background so this came at a perfect time. I hope mine look as good as the ones Lee Ann did. They are beautiful!
ReplyDeleteI wanted to try watercolor for my background for Halloween cards, so this came at a perfect time. Great Explanation with pictures. Hope mine comes out as well as Lee Ann's These are gorgeous!
ReplyDeleteThis is so awesome and beautiful! I MUST try this! :D Thank you sooo much for the tutorial, I have been wondering for a while now how to do this, so again. Thanks! ♡
ReplyDeleteI find this type of cards so beautiful in all its simplicty, and I need to get some nice sentiments now :)
This comment has been removed by the author.
ReplyDeleteThis technique is awesome and something I haven't come across before. I would definitely use this on Halloween cards to create a glowing, spooky background around the stamped sentiment. I will then add ghostly images on top of the watercolored section or maybe a frame:) Thanks for giving us the opportunity to win this awesome set!!
ReplyDeleteThanks for the tutorial! I would use these stamps for making cards!
ReplyDeleteFABULOUS cards and EXCITING technique - THANK YOU for sharing!!!
ReplyDeleteHalloween is my FAVORITE Holiday! I'd love to play with these stamps to make some fun cards and projects for the kid's school parties and for a few friends when we get together around Halloween time. Awesome new technique, thanks for the tutorial!
ReplyDeleteWOW! This is a new one to me, for sure! Great explanation and fabulous outcome. Can't wait to try. xxD
ReplyDelete