

Good Morning everyone!
Krafty Girl Melany here with a scrapbooking process photo tutorial. So grab a drink and follow me.
First of all, I got all the stuff I could need for my layout: picture, KKS stamps, embellishments

I think this Maggie Holmes collection will do great with my picture

I decided to make my own background using a Marshmallow from Bazill cardstock, the HEARTS & STARS stamp set and the Wicked Black Krafty Kolour.

I tried to scatter all the stars everywhere on my background for a more casual and organic look

I mated my pic. Now, my layout bases are done. Let's work on the details

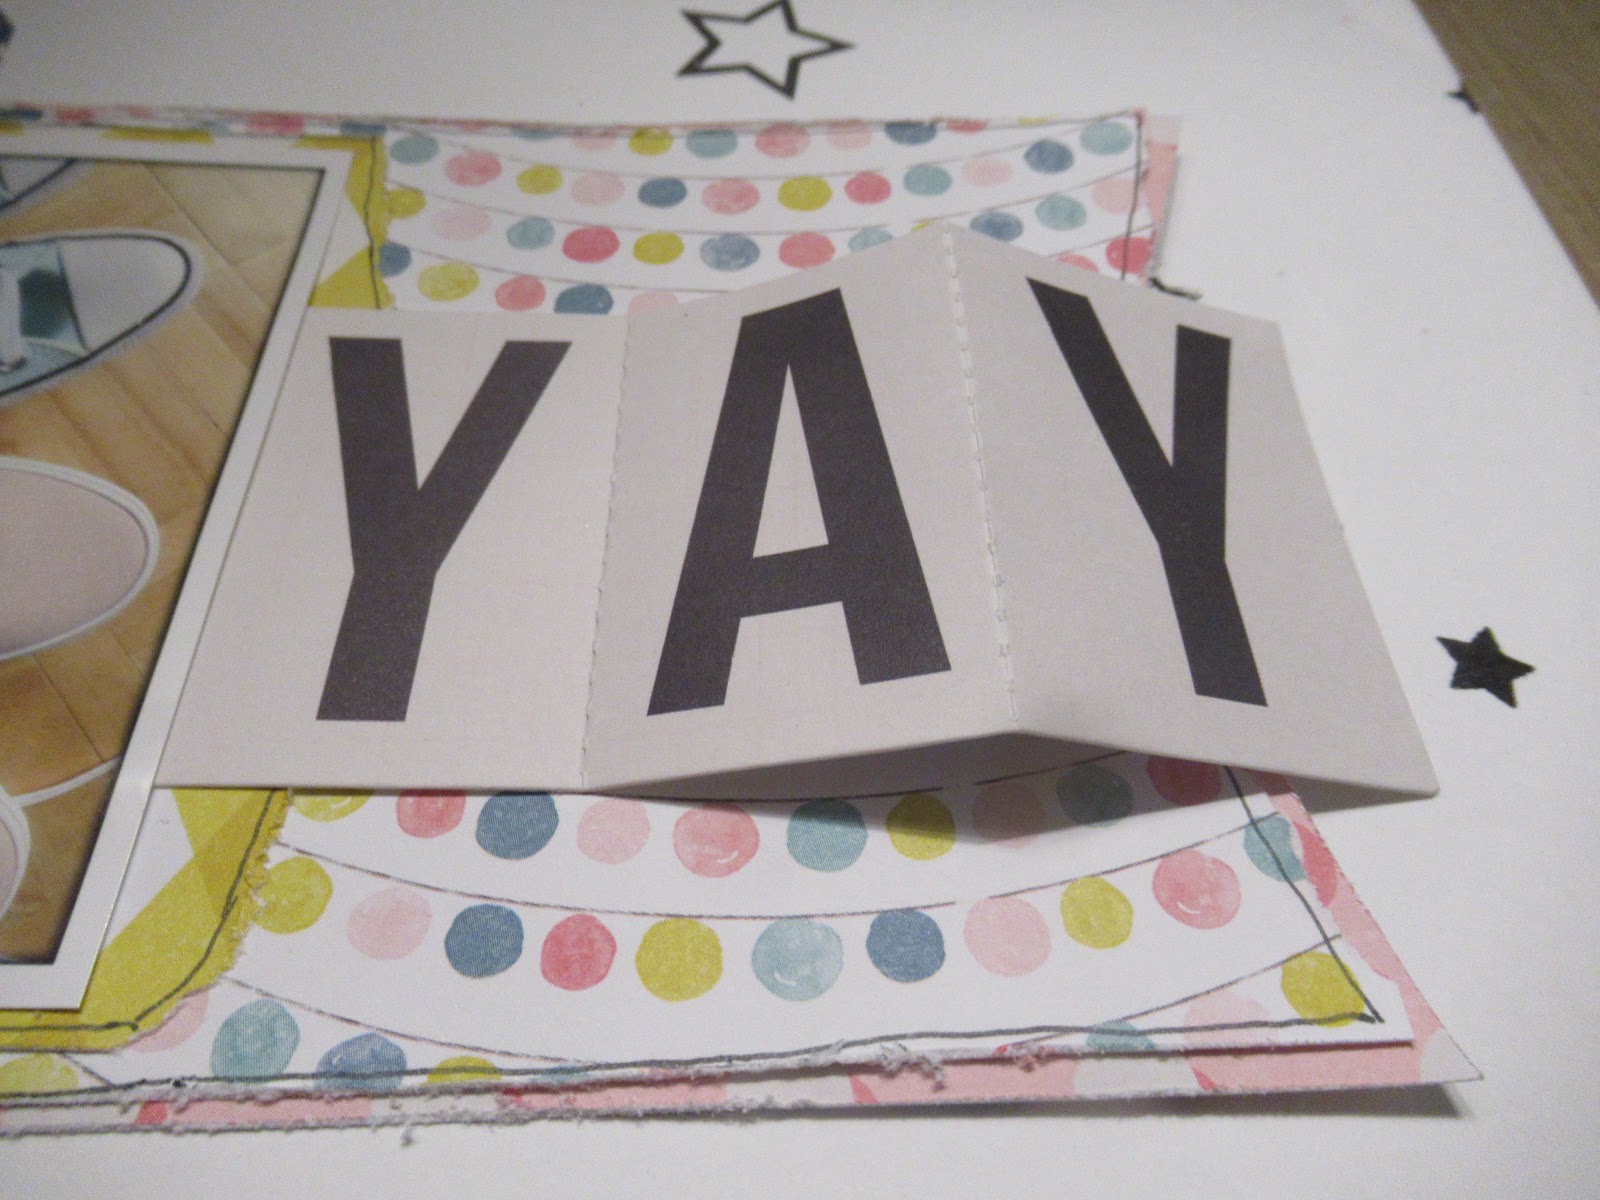
The title is perforated. I wanted to put the emphasis on the dimension that it was giving, so I put triple layer of fun foam under the A and the Y and attached the other places with adhesive. Later, I added some Tiny attacher


My title is now done. I also added some twine to my tag. I like to let run the twine all around my pic. It brings the eye around it and adds a whimsical touch

With the tag leftover, I made a second one. Since there was no gold reinforcement on this one, I made it one by myself with a white reinforcement and gold embossing powder. Not exactly the same, but close enough


I thought that the top and the bottom of my layout were a bit empty, so I added some pink stripes. A larger one on the bottom to ground all the thing. I added my homemade tag on the bottom and a small piece of it on the top to make a pleasing diagonal on my layout

I added some puffy stickers and stitched 3 buttons

For my final touch, I added some PASTEL DOTS, some gold splatters and my journaling

So, here's the final result

Thanks for sticking with me. Can't wait to see your scrapbook layout!
Krafty Girl Melany here with a scrapbooking process photo tutorial. So grab a drink and follow me.
First of all, I got all the stuff I could need for my layout: picture, KKS stamps, embellishments


I decided to make my own background using a Marshmallow from Bazill cardstock, the HEARTS & STARS stamp set and the Wicked Black Krafty Kolour.

I tried to scatter all the stars everywhere on my background for a more casual and organic look

I mated my pic. Now, my layout bases are done. Let's work on the details

The title is perforated. I wanted to put the emphasis on the dimension that it was giving, so I put triple layer of fun foam under the A and the Y and attached the other places with adhesive. Later, I added some Tiny attacher

My title is now done. I also added some twine to my tag. I like to let run the twine all around my pic. It brings the eye around it and adds a whimsical touch

With the tag leftover, I made a second one. Since there was no gold reinforcement on this one, I made it one by myself with a white reinforcement and gold embossing powder. Not exactly the same, but close enough


I thought that the top and the bottom of my layout were a bit empty, so I added some pink stripes. A larger one on the bottom to ground all the thing. I added my homemade tag on the bottom and a small piece of it on the top to make a pleasing diagonal on my layout

I added some puffy stickers and stitched 3 buttons

For my final touch, I added some PASTEL DOTS, some gold splatters and my journaling

So, here's the final result

No comments:
Post a Comment