

Hello, Krafty Friends! Krafty girl Tamara here. I am so excited to share with you today how I create a W-FOLD card.

This fun fold is so versatile that it can be used with any Kraftin'Kimmie Stamp set. I chose to use those adorable hamsters from Hammin' It Up!

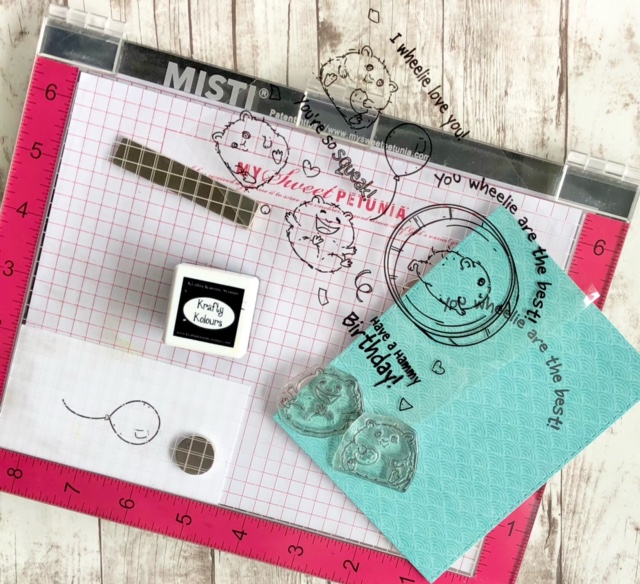
Here is a list of what you'll need:
- Hammin' it Up (or a Kraftin'Kimmie Stamp set of your choice)
- Patterned Paper
- Ruler
- Pencil
- White cardstock 110-120lb
- Paper trimmer
- Colouring medium of your choice
- Wicked Black ink
- Stamp press
- Die Cutting Machine (optional)
- Scoring tool (optional)
- Rectangle die approximately 5 1/4 x 4 inches (optional)
- Scalloped circle die - 2 1/2 and 3 inch in diameter (optional)
Step 1: Prepare Your Cardstock and Patterned Paper

Prepare your cardstock and patterned paper for the base of the card. Measure and cut out the white cardstock to 10.75 x 4 inches. Be sure to use a thick cardstock. I used 120lbs, but 110lbs will also work. Then cut the W insert at 10.75 x 1 1/4 inches.
Next, cut out your scalloped circle pieces. You'll need four 2 1/2 inch and one 3 inch. If you don't have a scalloped circle die, any circle die close to the sizes above will work. Or, you can cut out circles or even squares of the same size.
Lastly, with your rectangle die, cut out four pieces of patterned paper. Two for the front and back, then two more for the inside. If you don't have a rectangle die, you can measure the patterned paper out to approximately 5 1/4 x 4 inches. You'll want it to match the base.
Optional:
In step two you will be scoring and folding the card base and W insert. I cut out four pieces of pattern paper to cover each quarter of the insert. The size is approximately 2 11/16.

I saved this step until the end of step two and "eyeballed" the measurements, but it can be done at here too!
Step 2: Scoring and Folding the Card Base and Insert

In this step, you are going to score, or fold your card in half. Approximately 5 3/8 inches.
Next, you'll do the same with the W insert. Score or fold in half at approximately 5 3/8 inches. Then, each half will need to be scored or folded in half again so that each quarter will equal approximately 2 11/16.
Tip:
After you score or fold the card base in half, line up the W insert with the card and mark the middle then score or fold. This will ensure that they are the same, and will line up nicely inside the card.
Step 3: Stamp Images
Now that we have everything cut out, it's time to stamp out your images. The large scalloped circle will be for the front of the card, and the smaller ones will be for the inside. I also decided to stamp out the balloon and fussy cut it to add to one of the hamster images in the card.

Additionally, I stamped a sentiment on one of the panel pieces for the front of the card. My card opens from the bottom, but if you prefer to have the card open from the side you can just flip the sentiment around.
Step 4: Colouring

Here is the fun part, colour up your images.
Step 5: Put It All Together

Start by pasting your panel pieces onto the base of the card and the W insert. Once that is done you will be adding the insert.

When adding the W insert inside the card you are going to start with one side. Place glue on the back of the first quarter fold only. The two portions in the middle will not be attached to the card. Line the insert up to the middle edge. And then do the same to the other side. See below for a visual.

For the finishing touch, add your images to the front and inside of your card!

I wanted to make sure that the size of the card fit nicely in an A2 envelope with all its bulk, but you can adjust the card size to your personal preference.
I hope you will enjoy this fun fold card as much as I do. As I mentioned before, this design is so versatile and can be used with any Kraftin'Kimmie Stamp set. Switch it up and create a scene, or use squares instead of circles. The options are endless!
Thank you!
Krafty Girl, Tamara.
Oh, this is great! I can’t wait to try this!
ReplyDelete