Hello, everyone! Tamara here!
Welcome to Kraftn' Kimmie Stamps Birthday Crop Challenge #8: Create a Slimline Card!
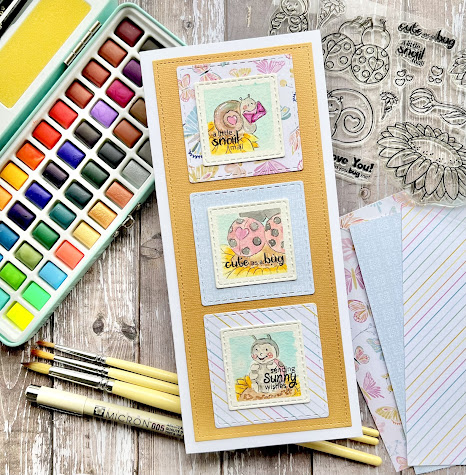
I am going to show you how I created a super cute slimline card using Love Bugs!
Did you know that this adorable stamp set is 50% off? This weekend only, so don't miss out!
What you need:
- Love Bugs stamps set (or another set of your choosing)
- Totally Taupe Krafty Kolours Ink
- Wicked Black Krafty Kolours Ink
- 1 - 12x12 solid cardstock
- 3 - 6x6 patterned cardstock
- 1 - 5x7 masking paper
- 1 - Watercolour paper
- 1 - Watercolours
- Adhesive (liquid glue and double sided tape)
- Trimmer
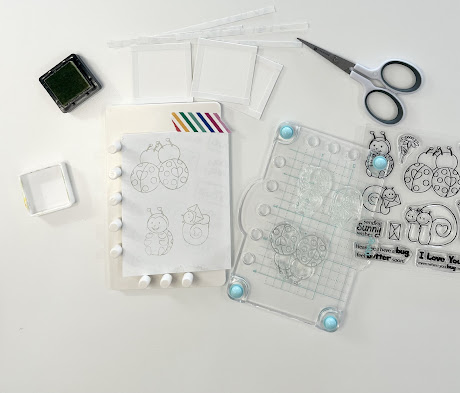
- Stamping Platform
- 1 8x9 white cardstock folded in half lengthwise (for card base)
- Micron 005 Pen (optional)
- T Square Ruler (optional)
- Scissors
Step one
Cut your card face and squares. I have dies that match the sizes I wanted to use, but it is not needed.
Cut a 8 1/2 x 3 1/2 inch piece from your solid cardstock to use as the card face.
Cut 3 large squares at 2 1/2 x 2 1/2 inches using your 6x6 patterned cardstock.
Cut 3 small squares at 1 3/4 x 1 3/4 inches using your watercolour paper.
Step Two
With your masking paper, cut 12 strips with a width of 5 mm. I cut my 5x7 masking paper width wise so that I ended up with 12 pieces at 5 inches long and 5 mm wide.Then, I had enough to use for my images, as shown in the following step.
Using the masking strips, tape the edges of the small squares to create a border on each.
Step Three
Stamp out your images on masking paper and fussy cut.
Now, you can create a scene and use your masks when needed.
I stamped my critters first, then masked them, and stamped the flower below. I used Kraftin’ Kimmie’s Totally Taupe Krafty Kolours Ink for a no line effect on the watercolour paper.
Step Four
Paint your images. I am not an expert in painting, so anything goes. However, I did try to use colours that matched with my patterned papers.
Step Five
Once you are done painting, and your images are dry, you can take the masking border off. I chose to use a Micron pen and casually outline the images. This is optional.
I also decided to stamp a sentiment on each image.
Step Six
Glue your large squares onto the card face. And then glue the small squares with your watercoloured images onto the large squares. I used a T Square ruler to help me with the placement.
Step Seven
Glue your card face onto the base.
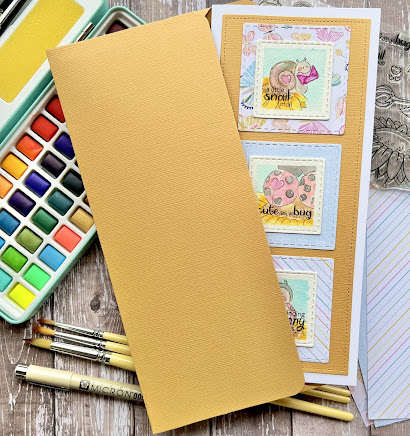
Optional A10 Slimline Envelope
What you will need:
- 1 12x12 solid cardstock
- Trimmer
- Scoreboard
- Scissors


No comments:
Post a Comment